To concentrate light on an object, I used a snoot made out of card board paper. The aim of the exercise was to depict the image using a flash with snoot and diffuser and with a snoot without a diffuser. My speed light Nikon 910 has an in-built diffuser than can be pulled out to cover the front of the flash. It indicated a flash to object distance of 2 feet with ISO 250 and aperture of f/16 to get a correct exposure. So i took the first picture without a snooth or diffuser as shown in Image 1 below:
 |
| Image 1: Flash without snooth and diffuser:ISO 250,70mm,f/8,1/250 |
By using a black background and fiddling with my ambient exposure manipulating shutter speed, I was able to achieve the black background. I now took another picture with the snoot and diffuser on the flash shown in image 2 below:
 |
| Image 2: Flash with snoot no diffuser:ISO 250,70mm,f/8,1/200 |
 |
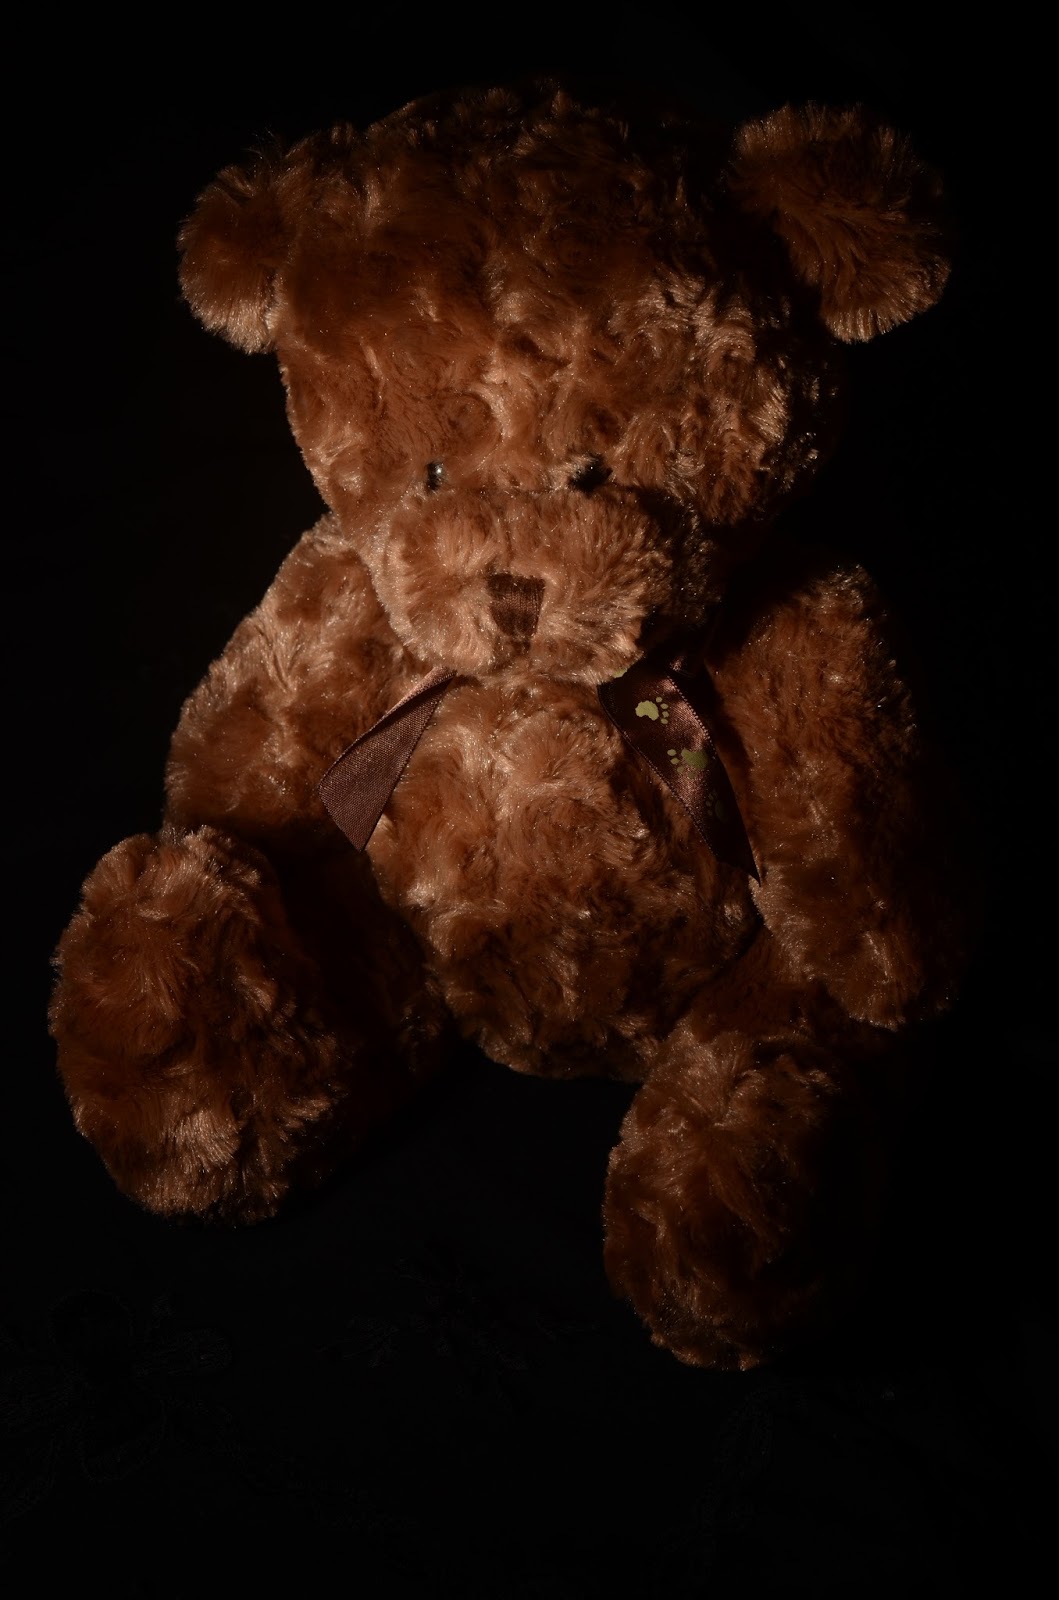
| Image 3: Flash with snoot and diffuser:ISO 250,70mm,f/8,1/200 |
As can be observed, with the snoot only light is concentrated in the facial area of the teddy but with the snoot and the diffuser, the light is spread across the teddy. My flash power was 1/64 . That probably accounts for why the light is severly diminished in Image 3.
 |
| Image 4: Processed image 3 in Iphoto |
I tweaked image 3 a bit in Iphoto to lighten and increase the contrast a bit. This has made the image a bit warmer and i seem to prefer it.
CONCLUSIONS:
I am beginning to feel a bit more in control of the exercises. Concentrating light in a dark background tends to give an image a more atmospheric look as earlier pointed out. However i seem to still struggle with how to achieve a dark background for the image without using any absorptive material. With constant practice, i will get it.
The built -in diffuser in my flash has worked quite well and am happy with the final image. The exercise has also enabled to manipulate my flash in manual mode. I believe the best way to utilize the capabilities of the flash is by using it in manual mode rather in iTTL mode which can sometimes introduce errors.