STILL
 |
| Fig 1: Still |
This was taken from the balcony of my apartment and it was one of the exercises to demonstrate shutter speeds. Taken at exposure time of 1/3000 secs, the subject even though its moving becomes stationary.
MOVING
 |
| Fig 2: Moving |
At a shutter speed of 1/45s , the motorcycle rider is blurred which conjures a sense of movement and speed.
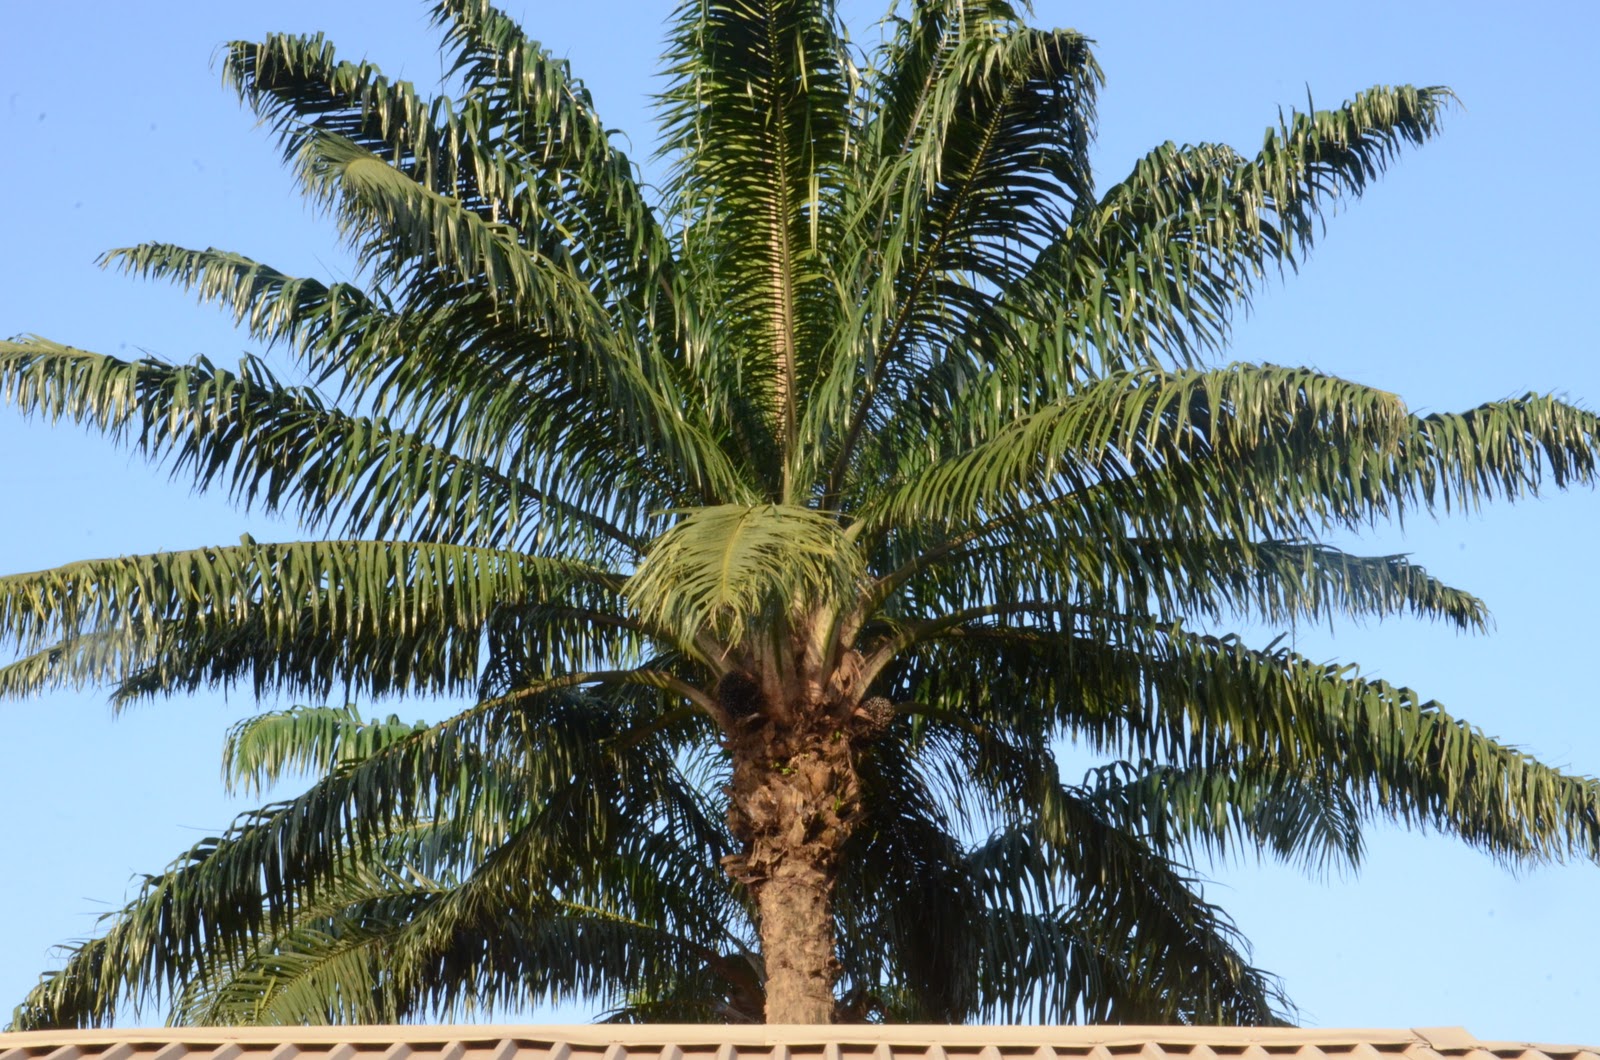
STRAIGHT
 |
| Fig 3: Straight |
CURVED
 |
| Fig 4: Curved |
This picture was taken in a rural community in mid western Nigeria. Its a beautiful countryside with the locals occupation being mainly agriculture. Oil exploration and production has not impacted negatively in any way on the environment. On the contrary, it has brought much needed infrastracture such as the road shown in fig 3. This winds down leading to a curved intersection. Women are more active in the farms and use bicycles as mode of transportation as shown in fig 4.
HOT
 |
Fig 5: Hot
|
This is to show hot and cold contrasts. Fig 5 was at a local park on independence day October1, 2011. The man was so busy making popcorn from a hot stove that he did not really pay attention while i took his picture. I like the way steam is coming out of the black pot that appears to have seen better days. This picture is set against the croaker fish removed from my freezer which portray cold.
COLD
 |
| Fig 6: Cold |
For the next picture, i attempt to show a photograph that demonstrates contrast in one picture. It was on Ed kabir day and i was out buying a ram when these two young girls passed by with their backs turned to me. I was fascinated because they were about the same age and were carrying plastic containers on their heads and chatting away.
COLOR CONTRASTS IN ONE PICTURE:
 |
| Fig 7: Contrasts in one picture |
The contrasts are in the girls dresses. They are of the same design but different colors. Also note the contrasts in the color of the containers on their heads. I like this picture. Took two shots but accidentally deleted the best shot. I have still managed to portray some elements of design in this picture. You have pattern on the one hand shown in the manner the girls hands are holding the containers. Then you have contrasts in dress and container colors.
LONG
 |
| Fig 8: Long |
I took this picture from my hotel room in Lagos mainland an regretted not bringing my 70-300mm lens. I would have had a closer view of the third mainland bridge in Lagos. This picture illustrates my idea of long. It links the lagos island with the mainland and is about 11km long.
SHORT
 |
| Fig 9: Short |
I hope this contrast works. The swimming pool length is short compared to the long bridge.
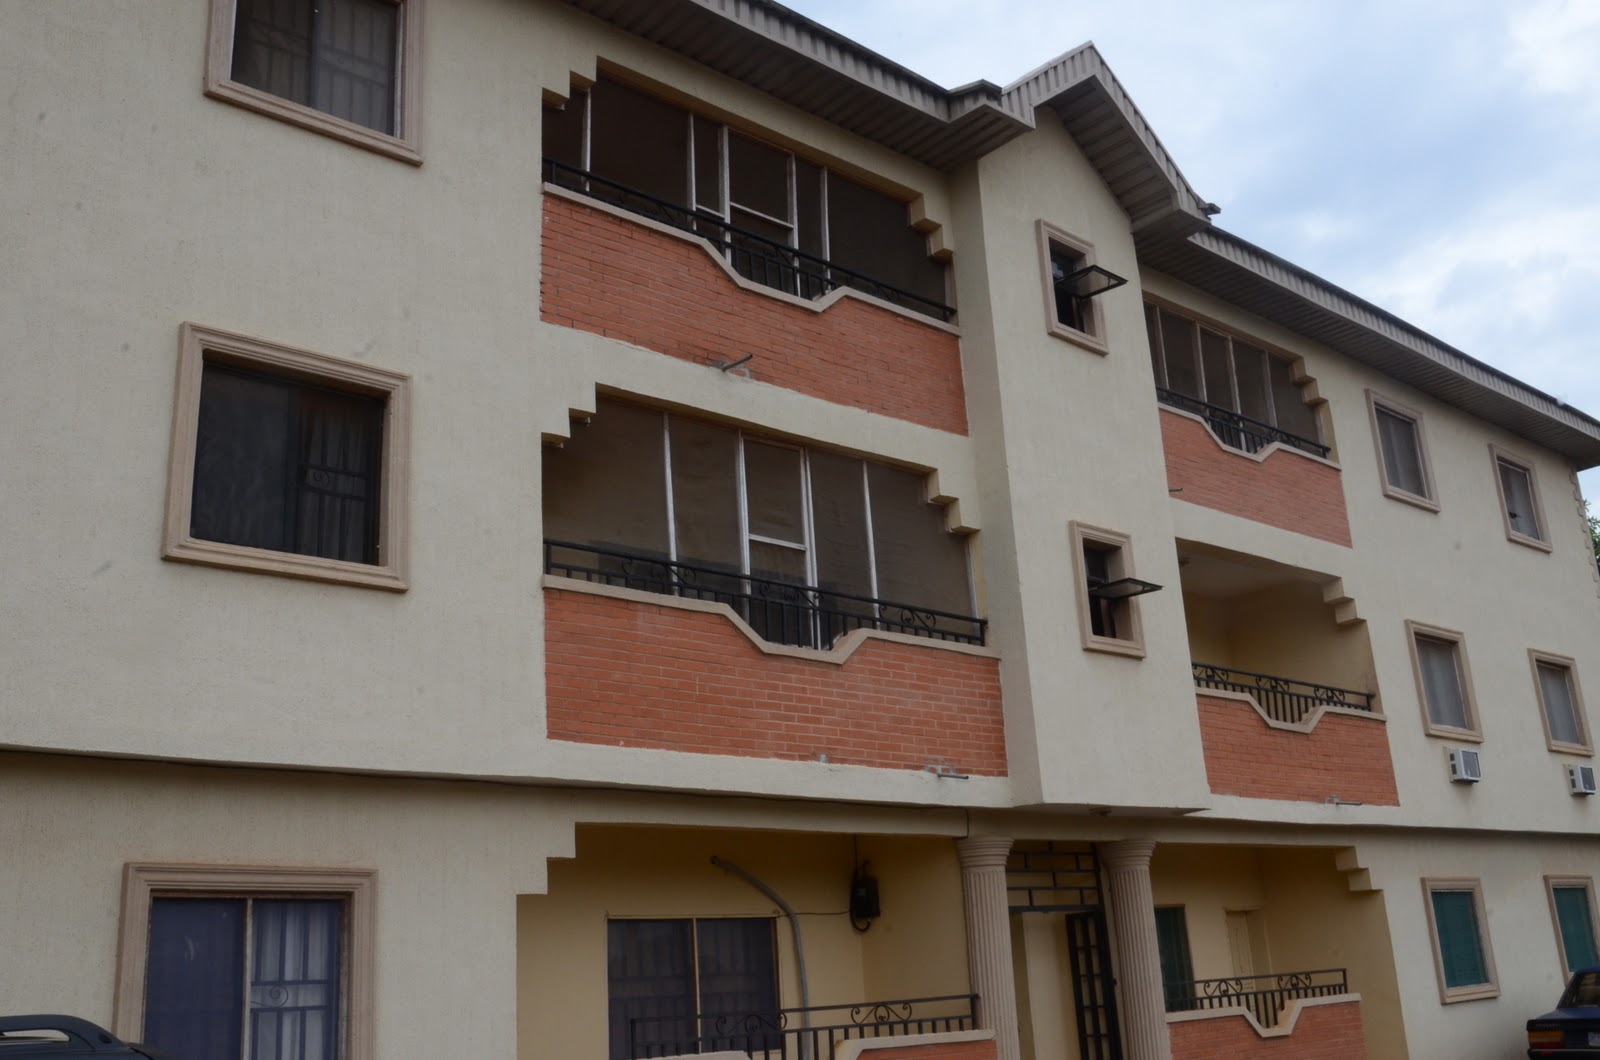
BROAD
 |
| Fig 10: A Broad building |
Passing by a local fast food joint, i could not help but notice the neon sign colors on the building and how they contrast with the red colr of the building. The frontage of the building is broad.
NARROW
 |
| Fig 11: Narrow |
Lagos is a city with over 12 million inhabitants and the mainland is densely packed with narrow roads cutting through as can be seen from Fig 11 above.
MANY
 |
| Fig 12: Many bats |
FEW
 |
| Fig 13: Few potatoes |
For Fig 12, the bats caught my attention as they suddenly scattered from their tree abodes somewhere near the market. They are many in number as compared to the few potatoes seen in Fig 13.
I realise that i have to improve on my imagination and creativity to be able to take excellent pictures and push my photography to the point i want to see it. That obviously takes a lot of practice. I always try to squeeze that into my busy schedule.
The assignment in contrasts is helping my imagination. its not a fast process. But as i progress into the course, i hope my imagination improves. My wife recently made a point that she has noticed i observe things better since i started the photography course. I took that as a compliment and an indication that I am on the right track.
ROUGH
 |
Fig 14: Rough
|
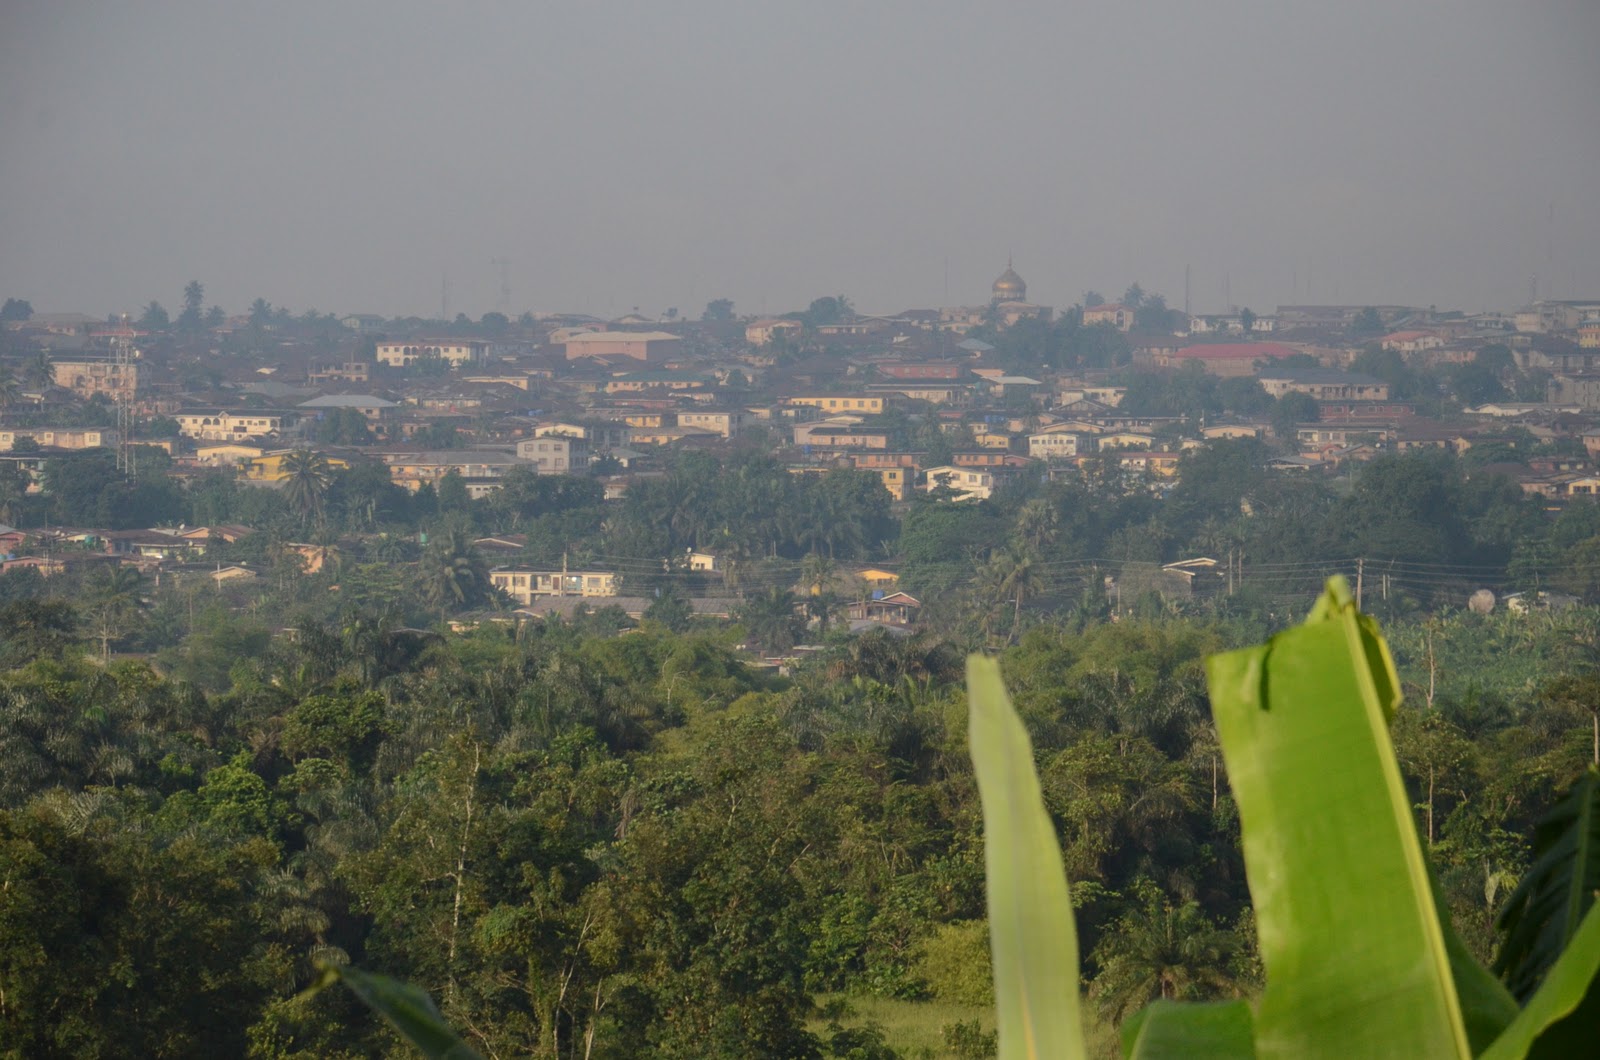
SMOOTH
 |
| Fig 15: Smooth |
The two pictures 15 and 16 illustrate my concept of rough and smooth. One is an untarred road in the countryside and another a smooth tarred road. Benin city can be seen in the backgound.
I have come to the end of part one of the course and will be sending it to my supervisor in Barnsley. While am not quite sure what he might think of my pictures, am at least upbeat that i have come this far and have the discipline to study through distance learning. I will need to get some fairly better equipment as I progress to help improve the quality of my pictures. I will also need to get me a good printer. My ultimate aim is to stage my exhibition someday. For now let me go through my blog, dot the i's and cross the t's and send off my assignment.